Chip 8 Emulator in Javascript
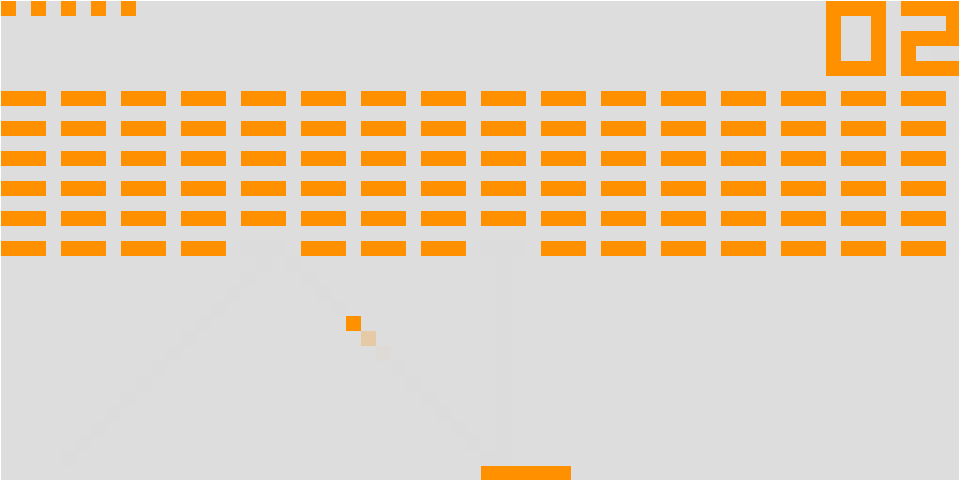
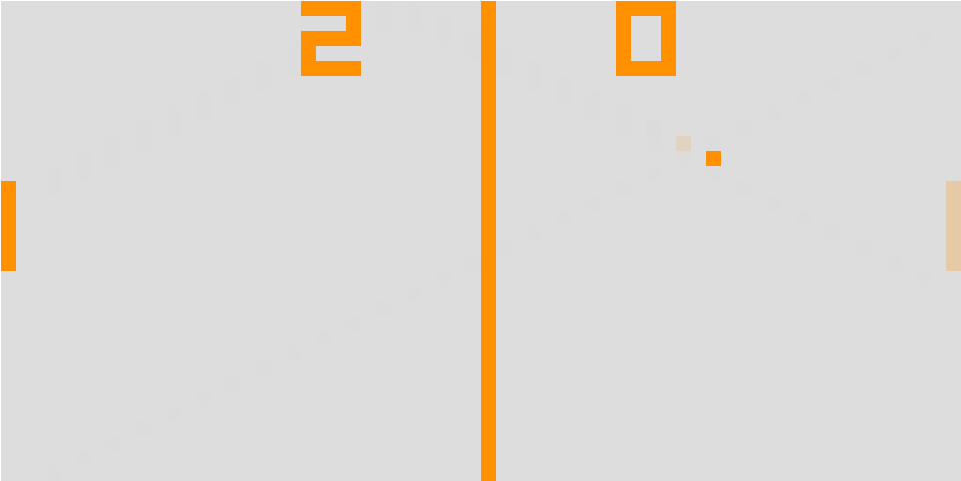
This weeks short and sweet project is actually a CHIP-8 emulator. Check it out !
Play with it by clicking here
See how I programmed it by clicking here (or just scroll :) ).
Check the github code here.


After writing the fast polynomial evaluation article I kind of got nostalgic about processor pipelines and figured I should write an easy emulator. You can actually think of CHIP-8 as a language rather than a machine, in which case I wrote an interpreter :D , but because someone actually made a Verilog implementation I will safely assume It’s ok to call it an emulator. I chose this because it has only 35 operations and I could write it short and sweet :) .
Let’s get down to business: CHIP-8 has all the info you need for a sturdy implementation right here or better yet here and all the info for playing the games here.
The basics of the project are really simple, we will write a function that loads a binary file that represents a program written for CHIP-8 then we will load it into the chip memory and execute it.
The main workload of this is actually executing the operations. All microprocessors work in a similar fashion (they need to fetch the instruction from some kind of memory then decode it and execute it). These stages vary a great deal of course from architecture to architecture , i.e the way the fetching, decoding and execution happens, but you still need to do it on every platform.
So lets get started!
We will write a function that converts a binary value to it’s 4 digits fixed hex representation.
function ConvertToHexStr(opcode)
{
  var tempStr = (opcode).toString(16).toUpperCase()
  var addln = 4 - tempStr.length
  var pad =""
  for(var i = 0; i< addln; i++)
  {
    pad = pad + "0"
  }
  var retStr = "0x"+ pad + tempStr
  return retStr;
}
All fine and dandy. We will need this later, I always start simple so don’t worry.
Our processor will have:
- 16 8 bit registers the documentation calls them $V_x, x \in {0 \dots F}$ , we note here that $V_F$ will be a special flag registers
- Delay and Sound registers , they act as timers
- The Program Counter (we will refer to it as $PC$ ). It’s like a pointer that holds the current instruction offset in memory
- The Stack Pointer (we will refer to it as $SP$ ). CHIP-8 has the ability to call functions, we need the stack so we can hold the old $PC$ when jumping to the new function (so we can now where to return after the function is finished). The maximum size of the stack is 16.
- Memory . This is the CHIP-8 Memory, it is 4096 bytes long and it contains the ROM and the RAM.
- VRAM . This will be the video card memory (of course that chip8 did not have a video card but we keep it separate so we always know when we are drawing something on screen)
- Keyboard Buffer. This is a memory where all our key presses are held for later inspection.
- The 16 bit I register . This is used for addressing, it’s not a normal register. It actually only uses 12 bits because the memory is small.
I will be using a lot of object literals, because I find they are easy to use and make the code clearer. The main point you need to make when writing an emulator is to have as little clutter as possible, because you need to easily find bugs just by inspection.
So the processor definition will look like this:
Processor =
{
REGISTER_SET: new Uint8Array(16), // V_0 -> V_F
REFRESH_RATE:16, // refresh rate for sound and delay timers
DELAY_REGISTER: 0,
SOUND_REGISTER: 0,
PC: 0, // program counter
SP: 0, // stack pointer
I:0, //adress pointer
STACK: new Uint16Array(16), // Stack
MEMORY: new Uint8Array(4096), // RAM + ROM
VRAM: new Uint8Array(64 * 32), // Video memory
KEYBOARD_BUFFER: new Uint8Array(16), // Keyboard buffer
PROGRAM_LOADED: false, // gets set to true when the program is loaded in memory
DRAW_FLAG: false, // gets set whenever a draw operation gets called
SCREEN:null,
CANVAS:null,
KEY_PRESSED:false, // gets set whenever a key is pressed
}
Note that I added some minor stuff that will help us later.
Now we will add functions of course. First function will be the easiest one :) , init or reset as I like to call it. Every system needs a reset button :). The function only sets all the variables to 0, starts the timers and loads the font in the main memory. Also gets a handle to our canvas (“the screen”)
Reset: function()
{
  Processor.PC = 0x200;
  // Clear VRAM
  Processor.ClearVRAM()
  // Set I address to 0
  Processor.I = 0
  // Clear stack
  Processor.STACK = Processor.STACK.map( ()=> 0 );
  Processor.SP = 0;
  // Clear registers V0-VF
  Processor.REGISTER_SET = Processor.REGISTER_SET.map( ()=> 0 );
  // Clear memory
  Processor.MEMORY = Processor.MEMORY.map(()=> 0 );
  // Load fontset
  CHIP8_FONTSET.map((val,idx) => Processor.MEMORY[idx] = CHIP8_FONTSET[idx]);
  // Clear keyboard buffer
  Processor.KEYBOARD_BUFFER = Processor.KEYBOARD_BUFFER.map(()=> 0 );
  // Set Draw flag to false
  Processor.DRAW_FLAG = false;
  // Get the "screen"
  Processor.CANVAS = document.getElementById('screen').getContext('2d');
  // Hook into the keyboard
  document.onkeyup = document.onkeydown = Processor.OnKey;

  // Reset timers
  Processor.DELAY_REGISTER =  0;
  Processor.SOUND_REGISTER =  0;

  setInterval(Processor.UpdateTimers,Processor.REFRESH_RATE);
},
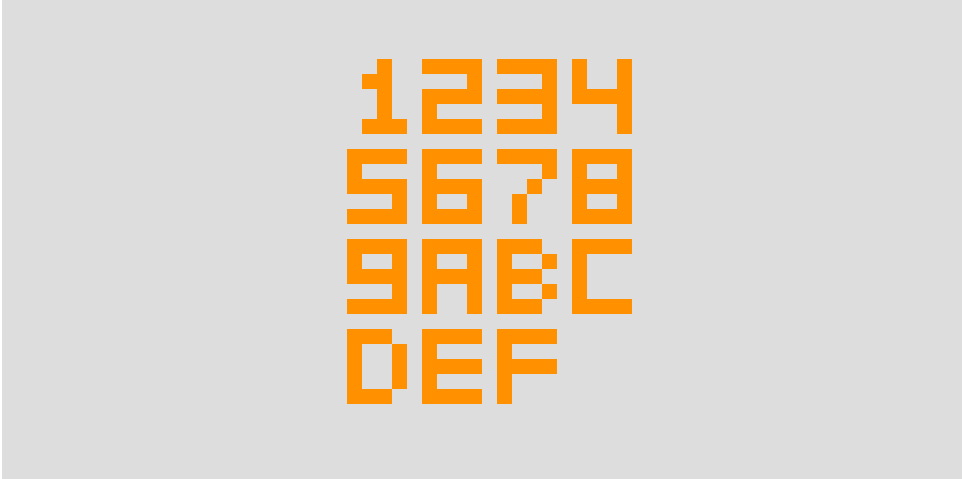
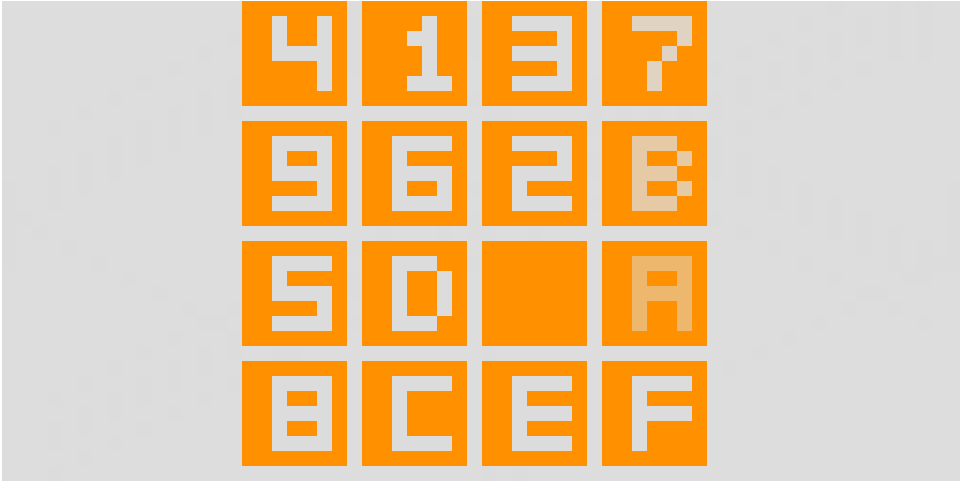
The font is actually just an array of values (bitmap font). Because CHIP-8 can only handle 2 colors (usually black and white, but it’s actually up to you which), a pixel can actually be encoded one bit, so a byte will hold 8 pixels and so on.
var CHIP8_FONTSET =[
  0xF0, 0x90, 0x90, 0x90, 0xF0, // 0
  0x20, 0x60, 0x20, 0x20, 0x70, // 1
  0xF0, 0x10, 0xF0, 0x80, 0xF0, // 2
  0xF0, 0x10, 0xF0, 0x10, 0xF0, // 3
  0x90, 0x90, 0xF0, 0x10, 0x10, // 4
  0xF0, 0x80, 0xF0, 0x10, 0xF0, // 5
  0xF0, 0x80, 0xF0, 0x90, 0xF0, // 6
  0xF0, 0x10, 0x20, 0x40, 0x40, // 7
  0xF0, 0x90, 0xF0, 0x90, 0xF0, // 8
  0xF0, 0x90, 0xF0, 0x10, 0xF0, // 9
  0xF0, 0x90, 0xF0, 0x90, 0x90, // A
  0xE0, 0x90, 0xE0, 0x90, 0xE0, // B
  0xF0, 0x80, 0x80, 0x80, 0xF0, // C
  0xE0, 0x90, 0x90, 0x90, 0xE0, // D
  0xF0, 0x80, 0xF0, 0x80, 0xF0, // E
  0xF0, 0x80, 0xF0, 0x80, 0x80  // F
];
Let’s write the function that will populate the KEYBOARD_BUFFER because it’s easy and fun. It will receive a key pressed or released event and then map it to CHIP-8 keyboard “space”, store it in the keyboard buffer and update our KEY_PRESSED variable (this notes if there have been any key presses):
var charStr = String.fromCharCode(evt.which);
var value   = (evt.type == 'keydown') ? true : false;

idx =
{
  '1': 0x1,'2': 0x2,'3': 0x3,'4': 0x4,
  'Q': 0x4,'W':0x5,'E': 0x6,'R': 0xD,
  'A': 0x7,'S':0x8,'D': 0x9,'F': 0xE,
  'Z': 0xA,'X':0x0,'C': 0xB, 'V':0xF,
}[charStr];

if(idx !== undefined)
{
  Processor.KEYBOARD_BUFFER[idx] = value;
}

Processor.KEY_PRESSED = Processor.KEYBOARD_BUFFER.reduce( ((prevValue,currentValue) => (prevValue | currentValue)) )
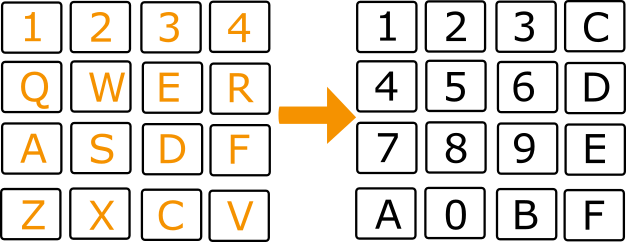
Note the key replacements, in case you want to play the games ;) .
Now let us load a program : Open the file the user gives us put it into our processors memory starting at index 512 (or 0x200) and set the PROGRAM_LOADED to true.
We put the Processor program counter to the start of our program (from now on we will not write in memory located at offsets [0 -> 512] because we consider it ROM)
LoadProgram: function(filename)
{
  var reader = new FileReader();
  reader.addEventListener("loadend", function()
  {
    var buffer = new Uint8Array(reader.result);
    buffer.map((val,idx)=> Processor.MEMORY[idx + 512] = buffer[idx] )
    Processor.PC = 512;
    Processor.PROGRAM_LOADED = true;
  });

  reader.readAsArrayBuffer(filename);
},
Now for the hard part: mapping the operations and implementing them. We will start with mapping the operations according to the Chip-8 manual:
Exec: function(opcode)
{
  return {
    '0x0000':function( opcode)
    {
      return {
        '0x0000': C8_clearScreen,
        '0x000E': C8_return,
      }[ConvertToHexStr(opcode & 0x000F)];
    },
    '0x1000':C8_jumpToAdress,
    '0x2000':C8_callFunction,
    '0x3000':C8_skipNextInstructionVXeqNN,
    '0x4000':C8_skipNextInstructionVXneqNN,
    '0x5000':C8_skipNextInstructionVXeqVY,
    '0x6000':C8_SetRegisterVXtoNN,
    '0x7000':C8_AddNNtoVX,
    '0x8000':function ( opcode)
    {
        return {
            '0x0000':C8_SetVXtoVY,
            '0x0001':C8_SetVXtoVXorVY,
            '0x0002':C8_SetVXtoVXandVY,
            '0x0003':C8_SetVXtoVXxorVY,
            '0x0004':C8_AddVYtoVX,
            '0x0005':C8_SubstractVYfromVX,
            '0x0006':C8_ShiftVXRight,
            '0x0007':C8_SetVXtoVYminusVX,
            '0x000E':C8_ShiftVXLeft,
          }[ConvertToHexStr(opcode & 0x000F)];
    },
    '0x9000':C8_skipNextInstructionVXneqVY,
    '0xA000':C8_SetItoAdress,
    '0xB000':C8_JumpToAdressPlusV0,
    '0xC000':C8_SetVxToRandomAndNN,
    '0xD000':C8_DrawSprite,
    '0xF000':function(opcode)
    {
      return {
        '0x0007':C8_SetVXtoDelayRegister,
        '0x000A':C8_WaitKeyPressAndStoreInVX,
        '0x0015':C8_SetDelayRegisterToVX,
        '0x0018':C8_SetSoundRegisterToVX,
        '0x001E':C8_AddVXtoI,
        '0x0029':C8_SetIToLocationOfSpriteFromVX,
        '0x0033':C8_StoreBCDofVXatI,
        '0x0055':C8_StoreV0toVXInMemoryStartingAtI,
        '0x0065':C8_FillV0toVXWithValuesFromMemoryAtI,
      }[ConvertToHexStr(opcode & 0x00FF)];
    },
    '0xE000':function(opcode)
    {
      return{
        '0x009E':C8_SkipNextInstructionIfTheKeyStoredInVXisPressed,
        '0x00A1':C8_SkipNextInstructionIfTheKeyStoredInVXisNOTPressed,
      }[ConvertToHexStr(opcode & 0x00FF)];
    }
 }[ConvertToHexStr(opcode & 0xF000)];
},
I first started with a switch statement, but I found this easier to read, more condensed and less prone to break bugs :) . I believe that it is also easier to understand what every function does because they have descriptive names. I don’t think it’s faster than a switch (i’ll do some profiling and come back to you on that ) but this is not a problem for this project, as CHIP-8 is really not a super fast chip :). The basis of this function is that we have some sort of a tree implemented through object literals and functions. I could have implemented this with arrays, maybe it would have been better (I actually tried it but found that it started to get clutter and abandoned it).
Now on to the really nasty part.
Implementing the opcodes
Home of the workload :) . I made a separate file for all the operations. I will not discuss all their implementation as they are really straight forward and the article will become huge. You just need to read the docs and pay very close attention to the implementation (try to implement them ok the first time so you don’t need to debug or write unit tests, because this can easily turn the project from something fun into something really not fun at all :)) )
Let’s take a look at some of them (you can find the rest in ops.js):
- The return operation: decreases the stack pointer and puts the program counter back to the old value stored in the stack.
function C8_return(opcode)
{
  --Processor.SP;
  Processor.PC = Processor.STACK[Processor.SP];
  Processor.PC += 2;
}
- The call function operation: it’s basically the reverse of the return operation, we hold the old PC in the stack and replace it with the new code address.
function C8_callFunction(opcode)
{
  Processor.STACK[Processor.SP] = Processor.PC;
  ++Processor.SP;
  Processor.PC = opcode & 0x0FFF;
}
- The ADD registers operation: Add the registers and if we have overflow we set the carry flag ($V_F$)
 // VF trickstery
 function C8_AddVYtoVX(opcode)
 {
   if(Processor.REGISTER_SET[(opcode & 0x00F0) >> 4] > (0xFF - Processor.REGISTER_SET[(opcode & 0x0F00) >> 8]))
     Processor.REGISTER_SET[0xF] = 1; //carry
   else
     Processor.REGISTER_SET[0xF] = 0;
   Processor.REGISTER_SET[(opcode & 0x0F00) >> 8] += Processor.REGISTER_SET[(opcode & 0x00F0) >> 4];
   Processor.PC += 2;
 }
- **The Set $V_x$ to random then AND with immediate value **: Just does what it’s title says:D
  function C8_SetVxToRandomAndNN(opcode)
  {
    var regidx = (opcode & 0xF00) >>> 8;
    var add = opcode & 0x0FF;

    Processor.REGISTER_SET[regidx] = (Math.random()*256) & add;

    Processor.PC += 2;
  }
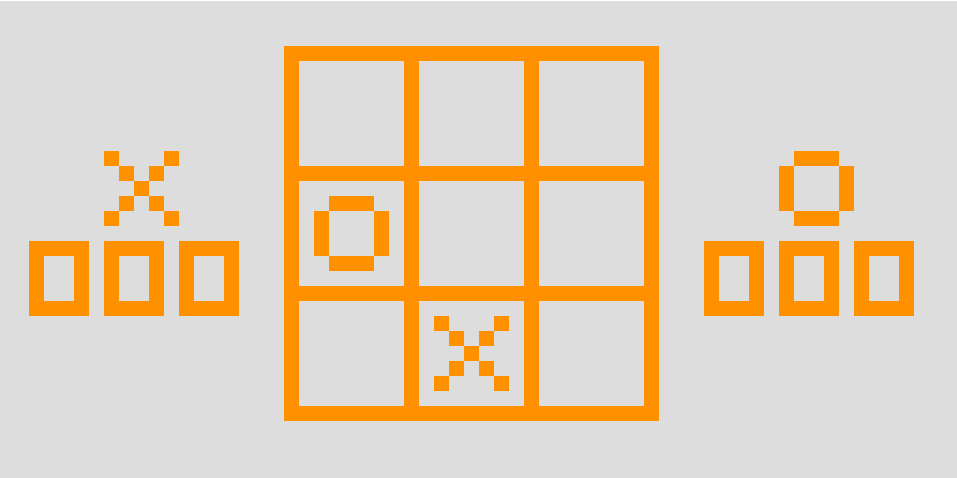
- The Draw Sprite function : Draws a sprite on screen. Should be the hardest function. basically we draw a sprite at position (x,y) on screen. If the sprites pixels intersect with another previously drawn pixel it sets the $V_F$ flag then xor. This draw can also be used for clearing (because of the xor)
// VF trickstery
function C8_DrawSprite(opcode)
{
  var x = Processor.REGISTER_SET[(opcode & 0x0F00) >> 8];
  var y = Processor.REGISTER_SET[(opcode & 0x00F0) >> 4];
  var height = opcode & 0x000F;
  var pixel;

  Processor.REGISTER_SET[0xF] = 0;
  for (var yline = 0; yline < height; yline++)
  {
    pixel = Processor.MEMORY[Processor.I + yline];

      for(var xline = 0; xline < 8; xline++)
      {
        if((pixel & (0x80 >> xline)) != 0)
        {
            if(Processor.VRAM[(x + xline + ((y + yline) * 64))] == 1)
              Processor.REGISTER_SET[0xF] = 1;
            Processor.VRAM[x + xline + ((y + yline) * 64)] ^= 1;
        }
      }
  }

  Processor.DRAW_FLAG = true;
  Processor.PC += 2;
}
And this is where I stop presenting operations :D.
After implementing the operations and the operation map we need to execute them. Lets take a look into our RunCycle function:
RunCycle: function()
{
  // Fetch opcode
  var opcode = Processor.MEMORY[Processor.PC] << 8 | Processor.MEMORY[Processor.PC+ 1]
  // Execute it by running down the tree.
  var op     = Processor.Exec(opcode);
  while(op !== undefined)
  {
    op = op(opcode);
  }

},
Our processor is almost done! We only need to display the VRAM on our screen, so we can see it working. I used some custom colors and cleared the screen with a semi-transparent color so I minimize the flicker generated by the xor drawing scheme :
DebugRender: function()
{
  if(Processor.DRAW_FLAG == false)
    return;
  Processor.CANVAS.fillStyle = "rgba(220, 220,220, 0.5)";
	Processor.CANVAS.fillRect(0, 0, 64*15, 32*15);
	Processor.CANVAS.fillStyle = "#FF9100";

	for(var i = 0 ; i < Processor.VRAM.length ; i++)
  {
		if(Processor.VRAM[i]  == 1)
    {
			var y = i/64 | 0;
			var x = i - y*64;

			Processor.CANVAS.fillRect(x*15,y*15,15,15);
		}
	}
  Processor.DRAW_FLAG = false;
}